Welome to Swytch University. Here you will learn all things digital marketing and WordPress-related items.
Today we will learn how to install WordPress plugins.
Plugins make WordPress’s job super easy and fast. WP says they have over 54,800 free plugins in their repository.
We can get page builders, sliders, popups, signup newsletter forms, contact forms, etc many more free from the WordPress repository.
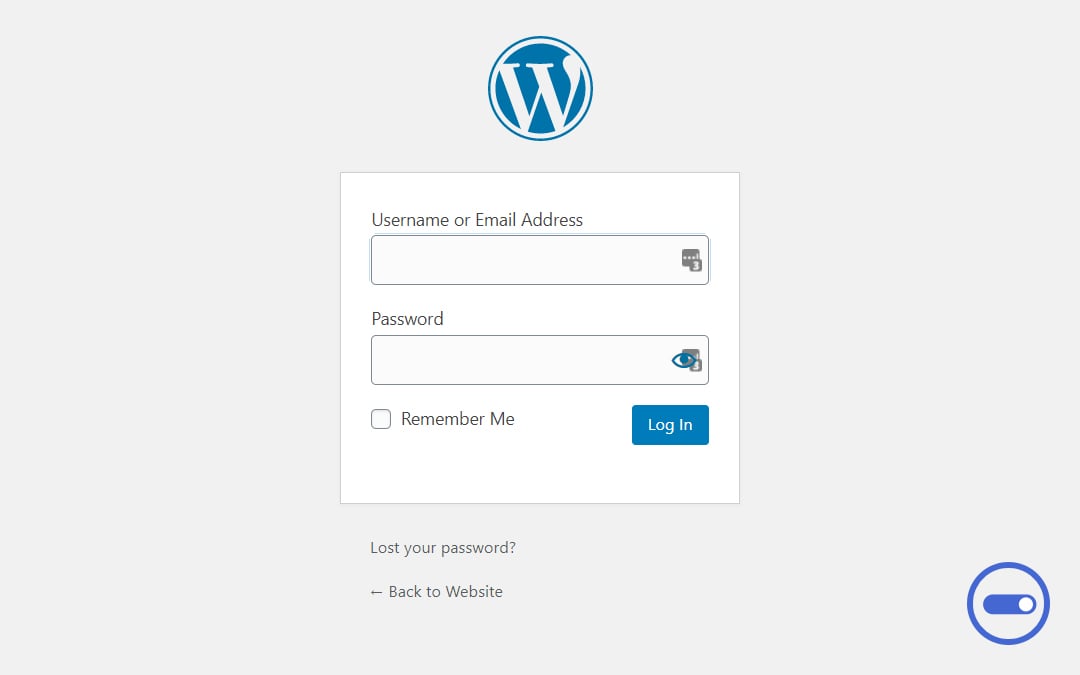
1. Logon to WordPress.
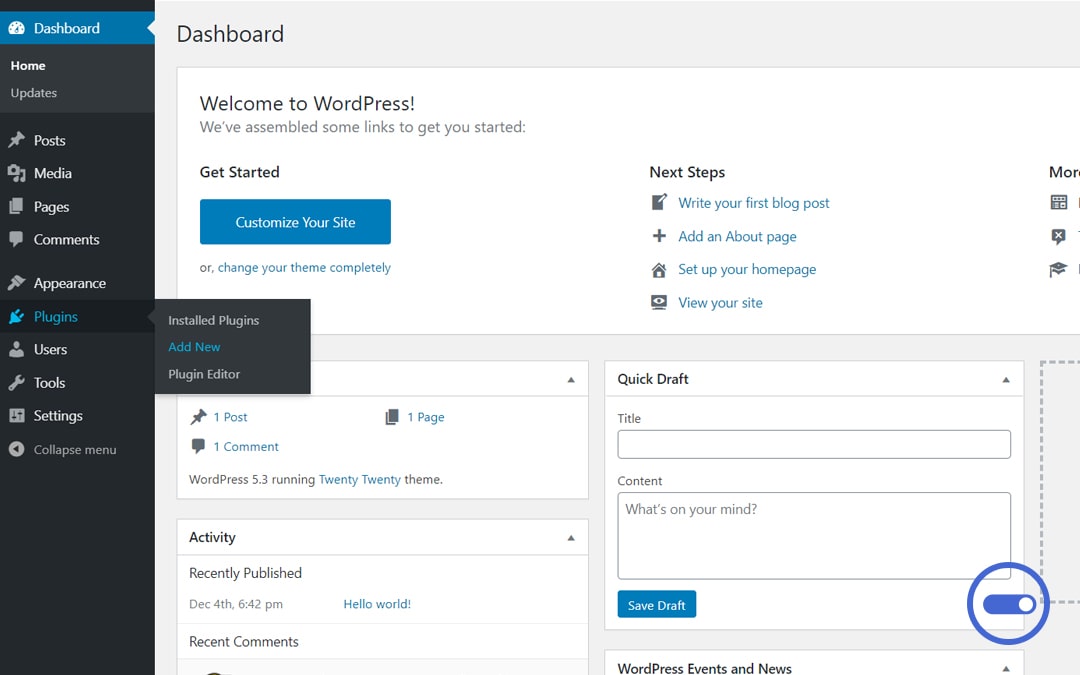
2. Go to Plugins -> Add New.
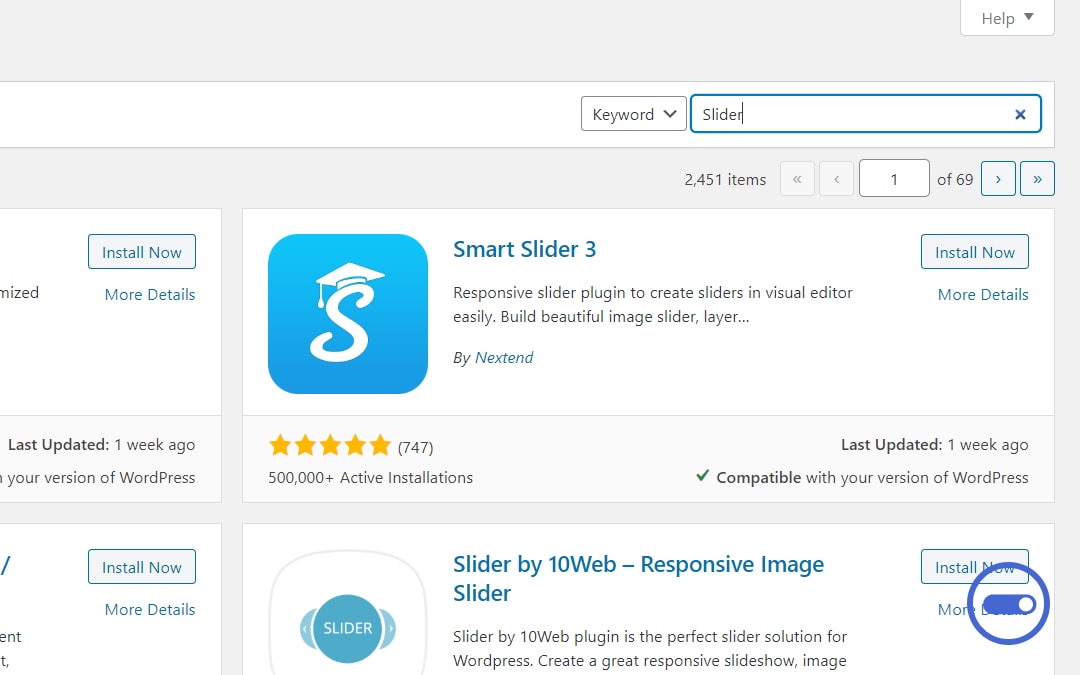
3. Type your plugin name in the Search Plugins… input field.
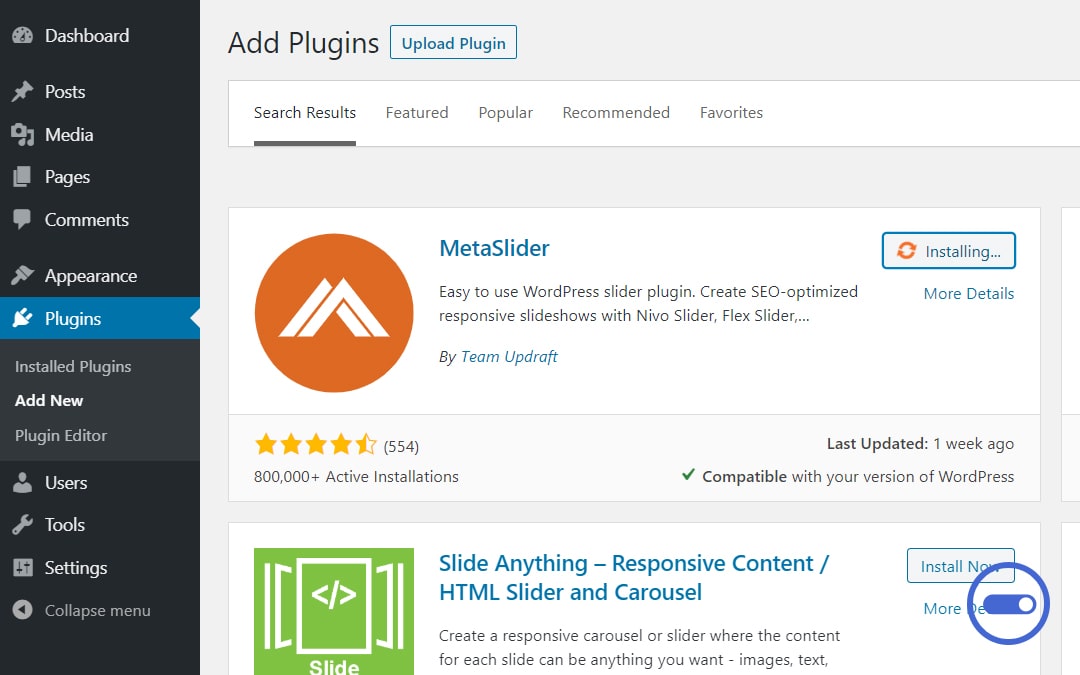
4. In our case we will install MetaSlider by Team Updraft. Click on Install Now.
- Now you have your plugin in your WordPress Core files under /wp-content/plugins/ folder.
- To activate it you have to click on activate. So it starts functioning.
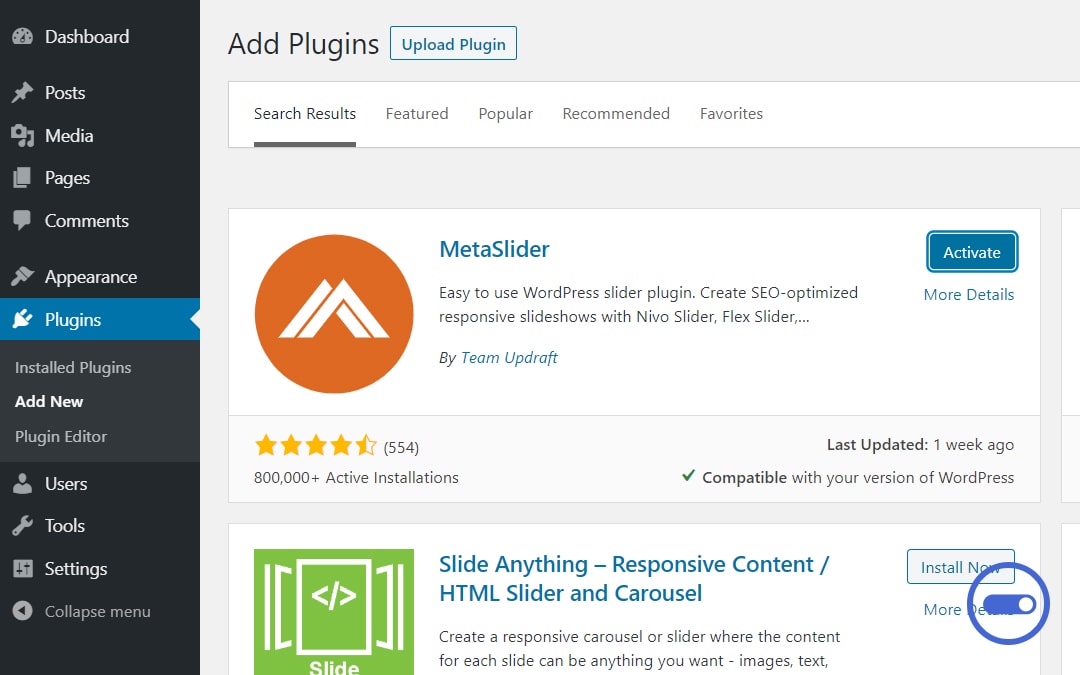
- Now you can go to Plugins -> Installed Plugins and you will see all your installed plugins in there including MetaSlider which we just installed
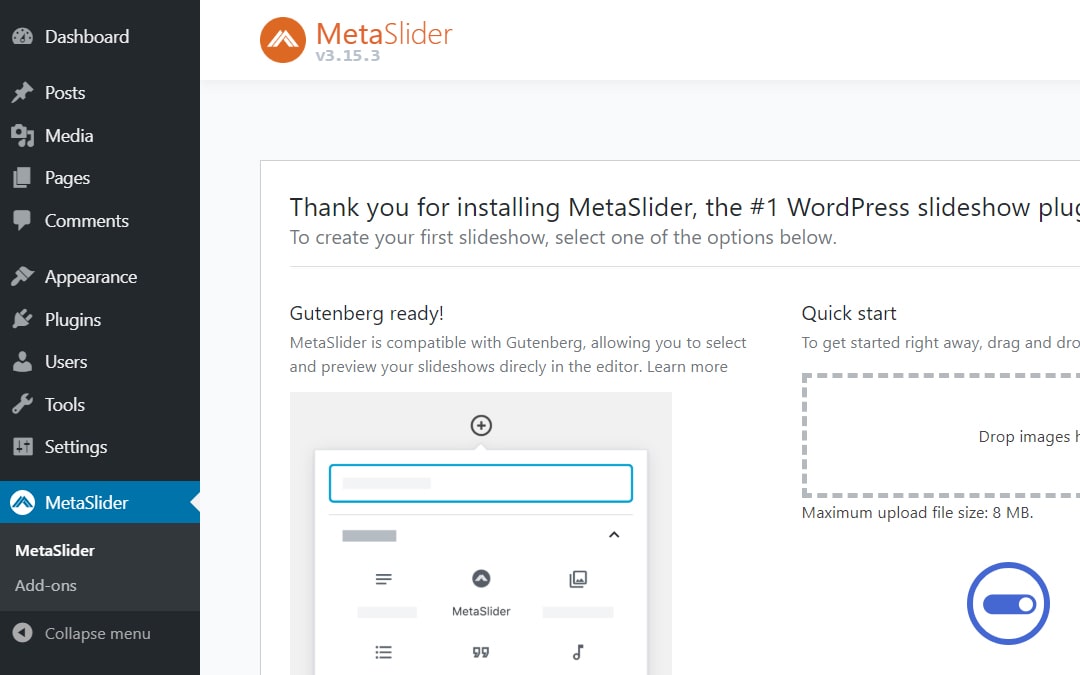
That’s all. Every plugin has its own options, normally newly install plugins appear in the menu on the right MetaSlider plugin. It appears in the left menu underneath Settings. You can explore each plugin’s settings and setup process. It’s always different depending on the developer and plugin requirements.
Tips:
- Never make changes in plugin core files. Instead, use Hooks and Actions to overwrite your plugin rules.
- Always install plugins that have the best reviews.
- Keep your themes, plugins, and WordPress core updated. Updating every 6 months is a good practice.
- Update your password and username every 2-3 weeks.
Regarding this post.
- In this post, our WordPress version is 5.3, and our PHP version 7.0.
- We installed the plugin MetaSlider by Team Updraft Version 3.15.3
Happy Blogging.

